Tuesday, September 04, 2007
Back to School!
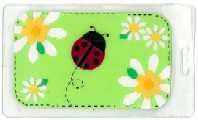
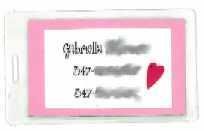
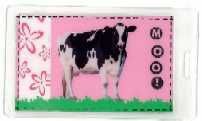
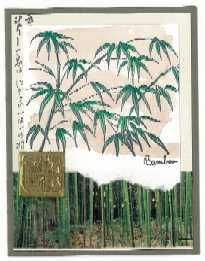
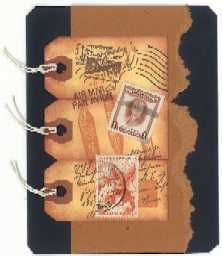
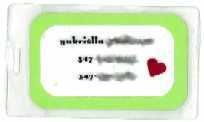
Tomorrow is back to school day for everyone, so I made tags for Gaby's bookbag again. I did this last year and Rachel asked me to make some again this year. Here they are:
Monday, August 13, 2007
Sunflower Days
When I get in a groove, I really get in a groove. I went back to AC Moore and got more paper to match the stickers I got for this card from last week. The whole collection has been on clearance, so I think I'll pick more up this week when I get paid. I really like the gold and brown and green in this set -- they seem like such perfect colors for August.
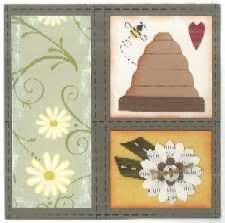
I made two new cards with the papers. In this first card, I used floral paper from the set for the side and sanded the edges. Then I punched a flower from cream cardstock and a French biology book and used ribbon for leaves, punched a brown flower for the middle and put a button with thread on top of that. I drew the beeskep on cardstock, drew lines and inked the one side to give it dimension; then I punched a circle from gold cardstock, drew black lines and punched a small dot from black cardstock. I drew the wings and the line. Finally I punched a heart from red card stock and drew stitches.
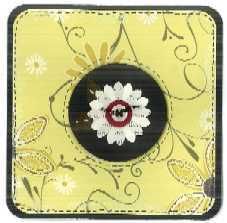
The second card was made from another floral paper in the set. I cut it to fit a square black card and sanded the edges, then punched a circle from black cardstock. I punched more flowers from cream cardstock and the French biology book and put a cranberry circle in the middle of the flower, then a button with black thread. Finally, I drew stitches around the edge of the card and around the circle.
Tuesday, August 07, 2007
Mom's Birthday, Take 2
Okay, I really wasn't thrilled with the card I made for my mom's birthday, so I decided to make a new one. Once again I went back to the well that never seems to run dry -- flowers. I printed a picture of a vase of sunflowers that I found online and mounted it on black cardstock. Then I put a page from a French textbook as a background and glued punched sunflowers on the top. Finally, I wrapped some DMC linen floss around the picture and mounted that on top of the French text.
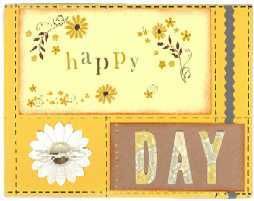
I also made a card for my sister-in-law's birthday, again with a sunflower kind of theme. (Blame it on the time of year.) I found some rub-ons and stickers that were on clearance at AC Moore so I used them as my starting point. The "happy" is individual rub-on letters, as are the flowers. The "DAY" is cardstock stickers. I cut a strip of grey paper with pinking shears and smudged brown ink on the edge of the light yellow and brown pieces. I mounted them all on sunflower yellow cardstock and drew stitches around everything. Finally, I punched two flowers out of cream cardstock and glued a button with DMC linen floss tied through the middle, then mounted it on the card.
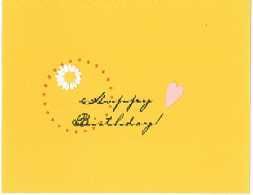
I don't usually show the inside but I like the way this turned out. I stamped "Happy Birthday" in black ink and a circle of dots in brown ink. Then I punched a small flower out of cream cardstock and a small circle out of sunflower yellow cardstock and mounted them inside the circle. I threw in a pink heart because I thought it was cute.
Monday, July 23, 2007
Mom's Birthday... maybe?
I'll admit it -- it's been a long time since I've updated. We're in the time of year where I haven't been making any cards. I'd rather go places with my family or just sit out in the yard with a book and enjoy the sunshine. I hate to squander the great summer weather by sitting inside at my desk, even if it does look out over the yard (that may be the problem right there).
But.... July 30 is my mom's birthday. Every year I want to wow her with a special card, because she's my mom and because I know she's saved every card I made and I know she'll treasure it. And every year in the middle of July, I'm bereft of any good card ideas for her, mostly because my mind is elsewhere: out in the sunshine or swimming in a lake, and not thinking about cards at all.
Such was the case this year. I am completely unhappy with the card I made for her because it's so damn boring and run of the mill. I may make another card for her, but for now, this is it:
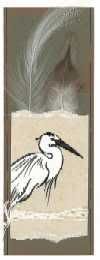
I also made a bookmark for myself -- yes, another heron. If there were any doubts that my creative juices are being funneled towards other things (like our One Local Summer meals), this should put those doubts to rest. I'm reading Animal, Vegetable, Miracle by Barbara Kingsolver (because I am nothing if not a trend-follower) and I wanted a natural kind of bookmark to go with it. Hey, fall back on what works, right?
Friday, June 29, 2007
The Little Lad Bids You Adieu
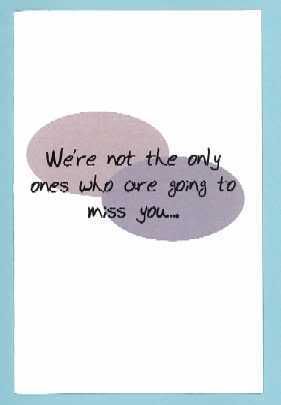
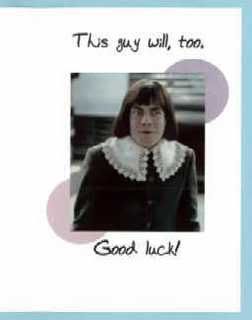
A co-worker is leaving for greener pastures next week, so I designed a farewell and good luck card for him. Nothing fancy -- just some inside jokes. He got the hugest kick out of the Starburst Berries & Cream little lad commercials. We would watch it on You Tube and he would do the dance and we'd all laugh. Now, those days are over. So I made this card. And got him a pack of Starburst Berries & Cream.
Front of the Card:
Inside of the Card:
Monday, June 18, 2007
Father's Day
Yesterday was Father's Day. Like Mother's Day, not a really big day as far as I'm concerned. I know, I'm selfish. I needed a card for my father and one for Onil's father, so I used two older cards. The first one has been posted here before, the second one hasn't:
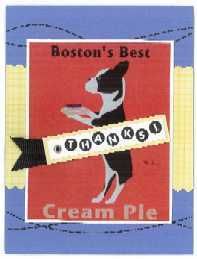
I also made two other cards this weekend. The first card is a thank you to my sister, who gave us a strawberry pie the weekend we went to her house for my nephew's graduation party. She's got a Boston terrier and the one in this picture is holding a pie, so I thought it was a good fit. I printed the picture from the internet and mounted it on white card stock. I stamped "THANKS!" with individual letter stamps and the stitches are rub-on.
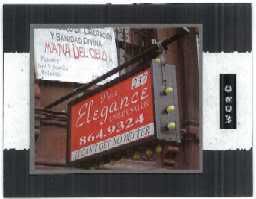
I made this card for my friend, Kevin. I'd been wanting to drop him a note for a while, and we both just had birthdays recently. I found this picture on the internet and thought of him immediately -- I knew he would totally crack up over it. Because, you know what? Sometimes it really can't. It's a simple card -- I mounted the picture on grey cardstock and layered it on handmade rice paper with silver and gold flecks. I got out the label maker again (yes, I really do love that thing) and attached "WORD" to the side.
Labels:
general,
old cards,
rubber stamps,
special occasions,
thanks
Tuesday, May 29, 2007
Outstanding Achievements
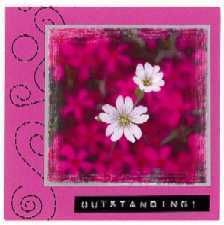
This post is dedicated to those who have accomplished some outstanding achievements! First up, we have a congratulations card for a friend. She just received her nursing degree and Onil and I wanted to congratulate her on a job well done. I printed the picture from the internet, sanded the edges and mounted it on silver cardstock. Then I used rub-on stitches on the side and added the Dymo label at the bottom.
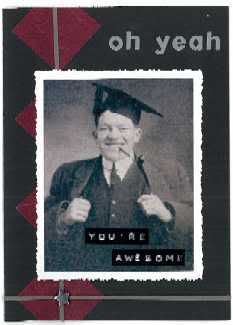
The next card is for my nephew, Asher, who is graduating from high school this June. I did a Google image search for "1933 graduation" because I wanted an old-fashioned graduation picture. When I found this guy I thought he would be perfect -- he's so pleased with himself! I printed the picture on glossy cardstock and cut around the edges with deckle scissors. I punched four squares out of maroon mulberry paper (maroon and white are his school colors) and turned them on their side. I took strips of grey paper and ran them down the diamonds and along the bottom, and added a star eyelet where they intersect. I mounted the picture on top of it all and used silver stickers to spell "oh yeah" and the Dymo labeler for "You're awesome".
Wednesday, May 09, 2007
Happy Mother's Day!
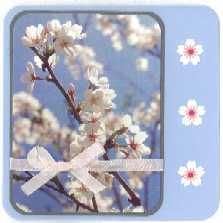
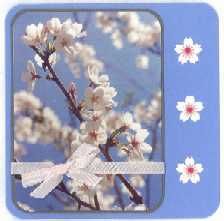
This year, just like every year, Mother's Day took me by surprise. I don't know why. You'd think I'd remember that day, of all days. But it's not a big deal to me and sometimes it's all I can do to remember to send a card out. Such was the case this year, so I had to make cards for the two mothers in my life on the fly. I brought a lot of my stuff up here to work and put it all together this morning. The cards are the same except for the color cardstock: one light and one a shade darker. I printed out a picture of cherry blossoms (which seems to be my new obsession since I got that cherry blossom punch), rounded the corners and mounted it on grey cardstock. I then tied a pink ribbon around it and attached it to a square card. I made the flowers with cherry blossoms punched out of white cardstock, and small suns out of pink cardstock and a 1/8" circle punch out of darker pink cardstock for the centers.
Happy Mother's Day to all you moms out there! :o)
Tuesday, May 01, 2007
Just a couple of quick cards...
I had a busy weekend so I wasn't able to do much in the way of card-making. Here are two that I just made.
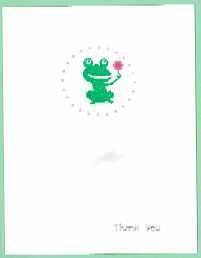
The first is with a frog from Uptown Rubber Stamps. They came out with a new line of really cute animal images (but nothing online) and I thought this froggie was really cute. He's holding a flower on the stamp but I punched a small flower and put that over top of the stamped flower. The circle of dots is a stamp from Hero Arts and the "thank you" at the bottom is from Classic Appeals (or whatever it's called). I had to use a green background to scan the card, otherwise I wouldn't know where the edges are. So the green around the edge is not part of the card.
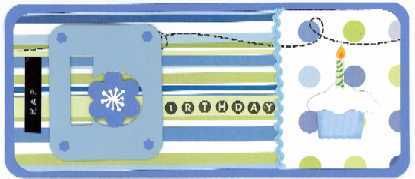
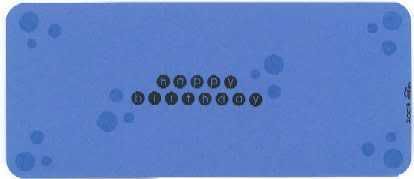
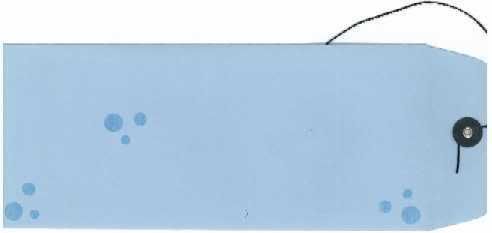
The next card is a birthday card I made. I wanted to use our new Dymo labelmaker so I came up with this card. I guess I didn't press hard enough for the last two letters in "HAPPY", so it just looks like "HAP" birthday. Oh well, live and learn. It's a single-sided card (like a post card) and the envelope is one of those long tie envelopes I've been using lately.
Front:
Back:
Envelope:
Monday, April 23, 2007
My Craft Corner
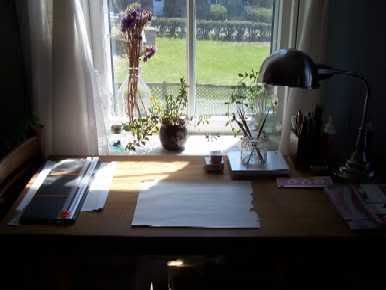
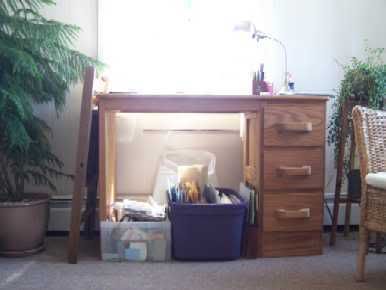
This week I thought I would share some pictures of where I make my cards. We have a small apartment with a large kitchen, so I've always done my card-making there. Up until recently I'd done everything on the kitchen table which really got to be a hassle. Every time I wanted to make cards I'd either have to clear everything out of the way come dinnertime or we would constantly eat out in the living room. I frequent an antiques store in Lititz (the same place we got the toys for the boats) and they had a desk there for $50. The cheapest suitable desk at IKEA was over a hundred, and this little desk seemed perfect, so I bought it. I'm so glad I did! I was able to find a little niche for it in my kitchen. I should have taken a whole room picture, but this will have to do. Here is my new card-making area:
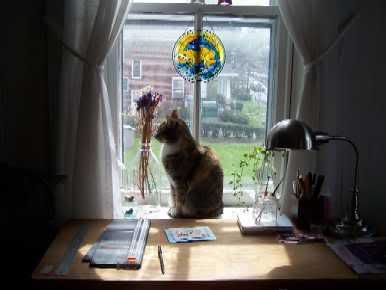
I'm not the only one who benefits from this set-up. Kitty now has a new place to snooze in the sunshine:
Monday, April 16, 2007
Blue Mood.... and Pink. And Brown.
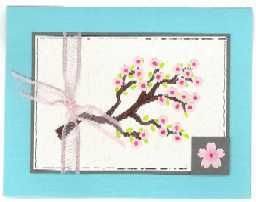
Actually, more aqua than blue. I made two cards this weekend, both in the same color scheme (but not on purpose). I had this first card rattling around in my head last week and put it together when I got home on Friday. I got out my watercolors and free-handed a branch in brown with green leaves on off-white paper. I then outlined the branch with a fine point black marker. I used my mini flower punch to make several pink flowers and painted a dark pink center in all of them. I drew black squiggly lines around the edge, layered it on dark grey paper, and tied a pink ribbon around it; then I mounted it on light aqua cardstock. Finally I cut out a small square of the grey paper and punched a larger cherry blossom in pink with a darker pink mini sun center.
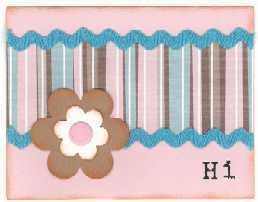
I made this next card to send to my friend Linda, who I haven't heard from in a while. I had this striped paper and have been wanting to use it but just never sat down to work it out. The pink center of the flower is a brad and the "Hi" was done with rub-on letters.
This past weekend I got a few new toys at AC Moore. The first thing I got is a tag maker, which I can use to make my own metal-rimmed tags. I also got one of those old-fashioned label makers. I'd been wanting one for a while and Onil really wanted one too, so we picked it up. I also got this sheet of clear stamps to use on the inside of cards. This was all a great deal -- the tag maker was on sale for 40% off, and I used 40% and 50% coupons for the label maker and the stamps. So everything I got was like half price. AWESOME.
Tuesday, April 10, 2007
Hurray for Presents!
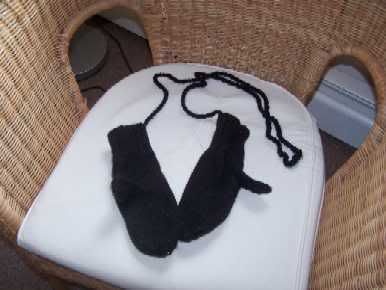
A few months ago, I asked Lita to crochet a pair of mittens for me. I'd been wanting a simple pair of black mittens, but apparently mittens are hopelessly out of fashion. I couldn't find any that weren't those waterproof insulated kind. I told Lita what I was looking for and she jumped right on it. I guess she had a black sweater she unraveled or something, because she had the black yarn on hand already. And here they are!
You will note that the picture is entitled "Black Mambas". That's because Lita worked on these while she was substituting high school something or other, and the teenage boys thought the mittens were super awesome. In fact, teenage boys had a lot to do with the making of these mittens. One boy borrowed a mitten to smack another boy in the head (something of which I mightily approve, because smacking teenage boys in the head with mittens is always good). Another boy wanted to know if Lita was going to put an idiot string on them, just like his little sister has. He even demonstrated how he pulled on one mitten so his sister could smack herself in the head with the other mitten. I thought the string was an awesome idea -- the possibility of someone making me smack myself in the head notwithstanding -- because I would be so upset if I lost one of Lita's mittens on the subway or something. So I asked Lita for the string, and with some adjustments it works out perfectly. And finally, at least one teenage boy thought the best name in the world for these mittens would be the Black Mambas, and I liked that so much that I've continued to call them that: "Hon, have you seen the Black Mambas?" So I guess the lesson we can learn from all of this is that teenage boys are completely captivated by crocheted mittens, and if you have the means to make a ton of them you could potentially rule the world.
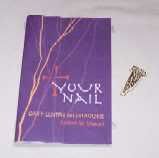
Then PM, knowing how much I love to make snotty remarks about fundamentalist Christian tracts on my other blog, thought that a Lenten present would be just the thing for me. And I think so, too! I especially like the keyfob, which I have hung up on a nail by my door. Almost a mezzuzah; it's at least in that spirit.
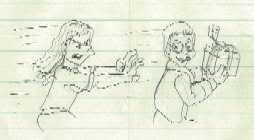
Also completely awesome was the comic he sent to me with his note. He drew a picture of Onil swiping my present and me chasing him. Look how big my boobs are! OH YEAH!
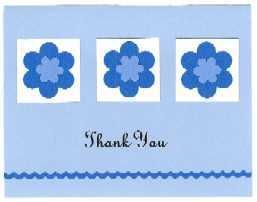
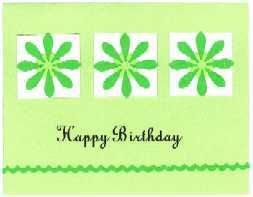
So to thank Lita and PM, I made them a few things. I sent Lita a copy of the heron bookmark she liked so much and this set of thank you and birthday cards in four different colors:
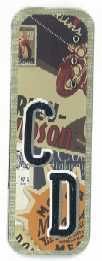
PM received three bookmarks, which I finally got around to sending last week. Sheesh, I'm late. (CD are PM's initials.)
Thursday, April 05, 2007
KITTY!
Putting pictures of your cat in your blog is the thing to do these days. Everyone's doing it. Rimmi did it. Twice. So did Torrk. Lita did it too, although she doesn't want you to look at her cat for fear that he will go missing.
I'm going to do one better. May I present, KITTY in all her slide show glory! Enjoy.
Monday, April 02, 2007
A Blast From the Past, Part 4: Spring Is Here!
I'm working on some new stuff to post here, but until I finish everything, enjoy some of my older cards, won't you?
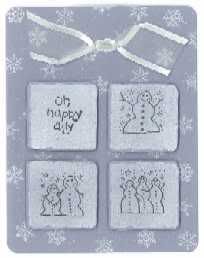
First, we still have a little bit of snow to deal with. I used to run a message board and we had a secret santa. I sent this card with my gift to my santa and she thanked me for the card with drunken snowmen, which totally cracked me up. She turned out to be completely insane, but the observation about the snowmen was right on.
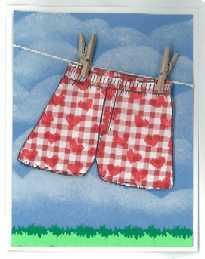
Here's a card I made for Onil a few years ago. He's a boxers guy, so this card is perfect for him. I stamped boxers on red gingham paper in black and little hearts in red, then cut them out and used mini clothespins to affix them to the string. The background was made with blue paper, white pigment ink and a stencil I made myself.
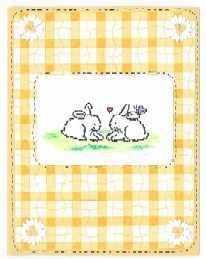
Now that the winter is overwith, let's celebrate Easter and spring with my fluffy little bunnies. I stamped them in black waterproof ink and painted around them with watercolor, a technique which I really love. Inside the card it says "Happy Easter!", although I guess if I wanted to be pithy I could have put "Hoppy Easter!" Ha! Ha!
Continuing in the stamp and watercolor vein, here are two more cards with that technique. They also show off a cool process which I think is called transference or something (maybe I just made that word up). Take a small picture from a magazine and lay a piece of clear packing tape over top, making sure to remove all of the air bubbles. Cut out the picture so there are no exposed edges, just packing tape. Immerse in warm water and gently rub away the paper behind the tape. The picture will remain on the tape but will be transparent. It's difficult to see how transparent the picture looks here, but it turns out looking pretty cool.
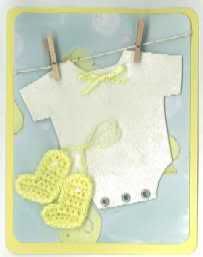
This last card was also made with clothespins and is very much like this baby card. The booties are little embellishments from Jolee's.
Monday, March 26, 2007
A Blast from the Past, Part 3: More Asian Cards
Okay, here's another batch of Asian cards that I made a couple of years ago. Fun!
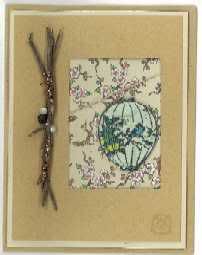
This first card is one of my all-time favorite cards. I love the cherry blossoms behind the lantern. I stamped the lantern on light green mulberry paper, spray mounted it to cardstock and added a wire at the top. I then strung it so it looked like it was hanging in the window. If I were to do it today I probably would not use the sticks and the wire on the side, but otherwise I really love this card.
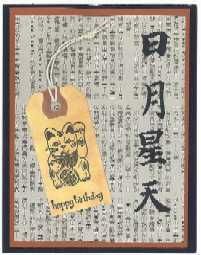
If I were to send this next card to someone who reads Chinese or Japanese, they would be all WTF? Since I can't tell the difference between Chinese and Japanese characters, it may all be one giant mix of Asian languages. (At least none of the characters are Korean or Thai. I at least can recognize those characters as not being Chinese or Japanese.) Even if they're all the same language, it's still a crazy mix. The background is from a Chinese newspaper that talks about who knows what -- could be the stock market, could be "Giant Seal Tries to Hump Car". The characters on the right stand for sun, moon, stars and sky. And then there's a lucky cat, generally used to invoke monetary blessings, wishing you a happy birthday! So needless to say, this card is meant strictly for my non-Chinese/Japanese-speaking friends, none of whom will say, "So just what are you trying to tell me with this card?!"
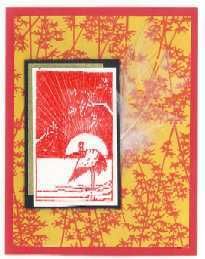
This card was made with the same set of stamps I used for this card.
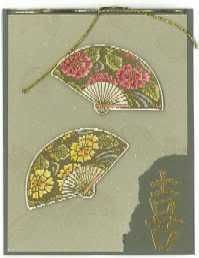
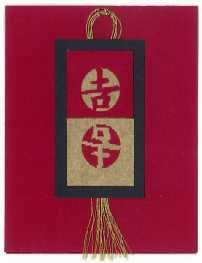
Nothing exciting about this card. The fans were embossed with gold and colored in. The character means... I don't know what, really. I think happiness? Part of the reason I slacked off making Asian cards is because I didn't understand the writing and was always afraid that if someone who did understand the writing got hold of one of my cards they would be mortally offended. I mean, I did one card that had as its center a kind of paper they would burn to commemorate or say prayers for dead relatives, with a lucky cat on top! Which, I didn't know at the time, but when I found out later what that paper was for I felt it was potentially really offensive (which is also why I didn't include it in my collection of cards here). Plus, so much of my Asian card-making was done with rubber stamps, and I had started to move away from that particular medium anyway.
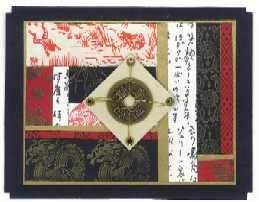
This was one of my first Asian cards ever. It was made in response to an article I read in Rubber Stamper magazine about using up your little scraps of paper.
This card is actually relatively new. I think I made it last year or something.
Subscribe to:
Posts (Atom)